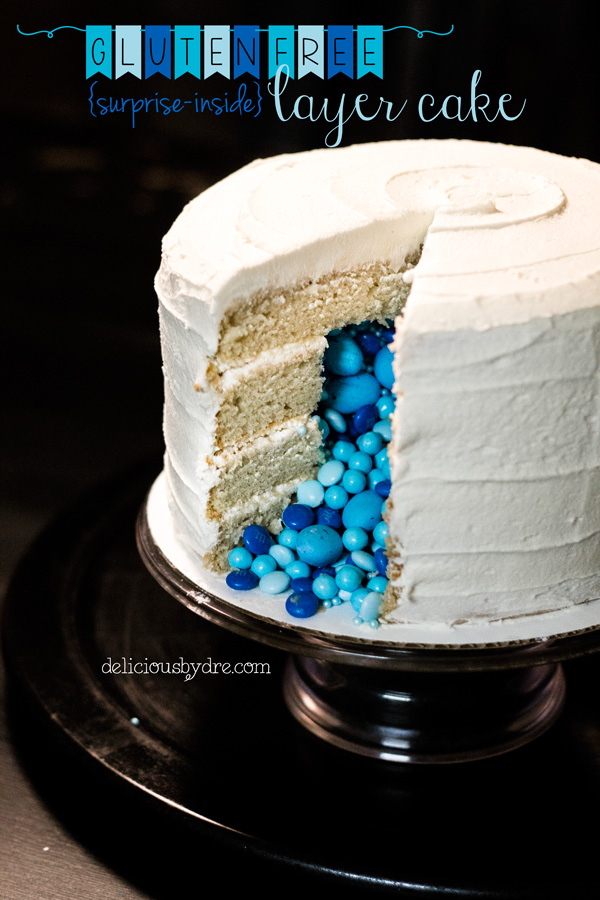
the baby’s gender is finally revealed in the best vanilla layer cake ever. moist and buttery, yet firm enough that it won’t crumble. plus, an epic tip to make all your cake layers come out of the oven perfectly even and flat!!
drum roll please…
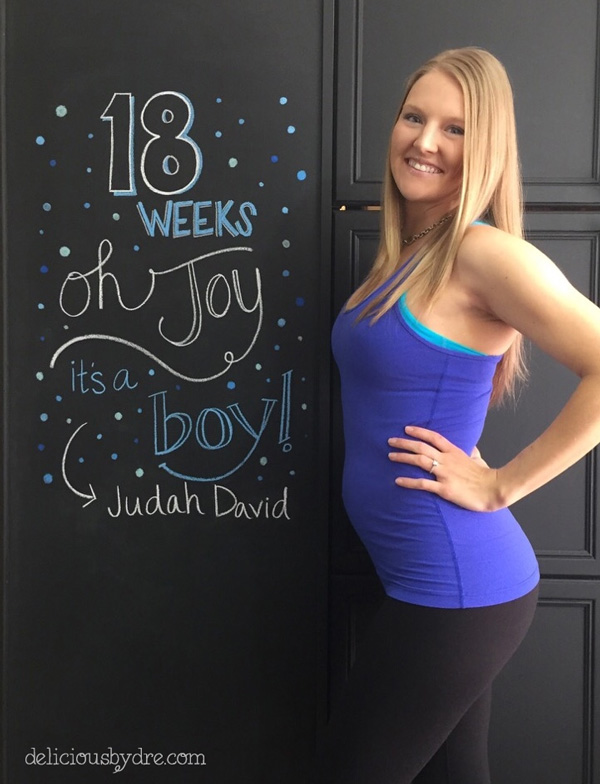
it’s a boy! ♥♥♥♥♥
if you follow me on instagram… sorry for the spoiler, i couldn’t hold in the exciting news any longer!! :)
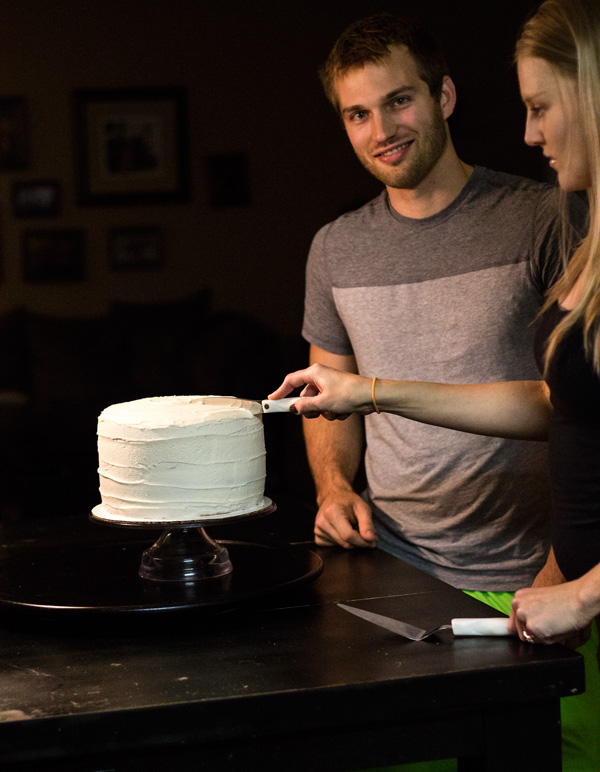
adam & i could not be more excited about having a baby boy… and i could not be any happier about how incredible this cake turned out! so i decided to go rogue from my weekly recipes and share this cake with you instead. the “gender reveal” was epic… everyone was looking for pink or blue colored cake inside and were shocked when the blue candy poured out. (see video at bottom of post!) it’s been over a week since the reveal, and adam tried a bite of leftover cake just today… it was still just as moist and incredible as the day it was made. i know that’s hard to believe, but i’m not even exaggerating.
i decided to go against “traditional” gender reveal rules and make the cake myself… the surprise would be for everyone else to find out! :) besides, i always find myself disappointed in the fancy, pretty, layered bakery cakes. it seems like they always strip out any last bit of moisture in order to create a firm cake that’s ideal for layering. so you end up paying a crazy amount of money for a beautiful but dry cake, topped with (basically) inedible fondant.
i also didn’t want to use any food coloring in the cake so as many people as possible could enjoy it. i found my inspiration on pinterest but the original recipe was made using boxed cake mix. after reading several reviews, the results were an overwhelming fail. everyone said the same thing, the cake crumbled like crazy and turned out nothing like the picture.
enter, this recipe. forget the fact that this cake is gluten-free (it’s really just a bonus!!), this is legitimately the best layer cake i’ve ever had. oh yeah, plus and the part that you don’t have to even out the layers by cutting off the tops in order for your cake to not turn out lopsided. this is a little trick i learned from annalise over at completely delicious. it’s ridiculously easy, totally genius, and should really become the new standard for baking cakes (plus, no waste!).
the secret is lowering the baking temperature from 350 down to 300 degrees and increasing the baking time by about 1.5x what the recipe says. so normally, you would bake this cake for 35-40 minutes… but for perfectly even layers, you will bake it for 55-60 minutes. after removing from the oven, allow the cake to cool for 30 minutes before removing from the pan and transferring to a cooling rack. i made these cakes the morning of, then wrapped them in saran wrap and set in the fridge to chill for about 3 hours before constructing the cake. chilling them really ensures they are nice and firm once you are ready to stack your layers.
(i shaved down a tiny bit of cake on my first layer so i could taste the cake before i served it to everyone else!) above is the step by step to creating the “surprise inside” part of the cake. i simply took a tupperware lid that was about 4″ in diameter and cut around it on my middle 2 layers to make room for all the candy inside. once cake is constructed, cover with a thin layer of icing. some refer to this as the crumb layer. it’s not necessary for this layer to be perfectly smooth, just needs to cover the cake and will pick up any crumbs that may separate from the cake while frosting.
next, place cake in the fridge for about 15-20 minutes. this will harden that layer of icing and allow you to go over it with a second layer that will be your perfectly smooth and “pretty” icing layer.
that’s it! it looks way more fancy and complicated than it really is. use it as a gender reveal cake, or fill with colored candy for any occasion or birthday you’d like!
the cake portion of the recipe is for a single layer… double, triple, or quadruple this based on how many layers you want. or mix each layer individually to ensure the exact same amount of batter is used in each layer.
ingredients
- 1.25 c gluten free flour (i used namaste brand, perfect flour blend)
- 1/4 tsp salt
- 1/2 tbsp baking powder
- 2 eggs
- 1 c organic white sugar
- 1/2 c organic/grass-fed butter (melted)
- 1/2 c lowfat buttermilk
- 1/2 tsp vanilla extract
- 1/2 tsp almond extract
- 1 c organic butter (softened)
- 3.5 c organic powdered sugar
- 1 tsp almond milk
- 1 tsp vanilla extract
- 1/8 tsp salt
instructions
- preheat oven to 300 degrees. grease 9" round cake pan and coat with flour. line bottom with parchment paper and grease parchment paper as well.
- combine the first 3 (dry) ingredients together. set aside.
- beat together the egg and sugar, then add in 1/2 of dry ingredient mixture.
- next, add melted butter, vanilla and almond extracts, followed by buttermilk.
- continue to beat together while adding remaining 1/2 of dry ingredients and mix until combined.
- pour batter into prepared cake pan and bake at 300 degrees for 55 minutes, or until toothpick comes out clean. allow to cool in pan for 30 minutes before removing cake from pan and transferring to cooling rack. allow cake to cool for an additional 30 minutes before covering with saran wrap and chilling in refrigerator for 3-4 hours before constructing the layer cake.
- in a bowl or stand mixer with whisk attachment, combine butter, sugar and salt. beat till blended.
- add the milk and vanilla and beat for an additional 3 to 5 minutes or until smooth and creamy.
Notes
wrap remaining cake in saran wrap and store at room temperature for up to a week.


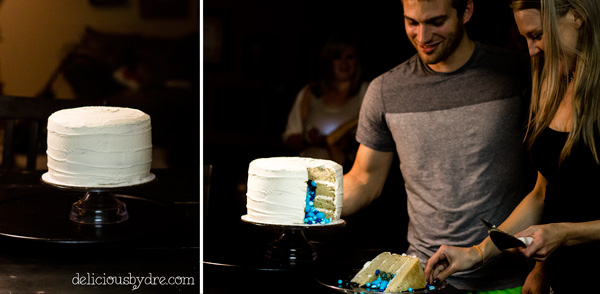






I was SO excited when I saw the YouTube video attached to the bottom of this post!! The whole time I was scrolling down I kept thinking how much I would love to see a video of this cake in action to see if the inside really falls out as dramatically as the picture makes it seem. So a huge thank you from me!!! And congratulations on your baby boy!
This cake looks amazing! Do you know what the measurements would be in weight rather than cups? In England we don’t use cups…. x
Where did you get the candy mix for the filling? Thanks! Love the cake!
Hey Carrie! Thank you! I went to the bulk candy store at the mall where you can buy candy based on color and got a variety of chocolates in all different shades of blue!
Perfect! Thanks.
So I just did a test run of this and the cake was sort of dense and sticky (tasted under cooked but toothpick came out clean and it was baked for the time suggested)… where did I go wrong?!?! I know it must be an error on my part.
[…] | Joann, Craftsy, Two Twenty One, delicious by dre, Easy Baked En Directo al Paladar | ¿Qué cocino para mi bebé? Ideas y consejos que pueden […]
Hi!
What an awesome idea!! I want to bake it for my brother’s baby shower. I am wondering how many serving this cakes makes approximately? At our event there will be around 30-35 ppl… Should I make a bigger cake, should I make 2? I don’t really know what to do! Thanks for your help!
Hey! I think it would be big enough… It’s a LOT of cake… Each slice could easily be cut in 2 halves because they are so tall! It’s such a fun cake!
Can I refrigerate the layers longer before constructing? Like overnight? Then frost in the morning before a party in the afternoon.